|
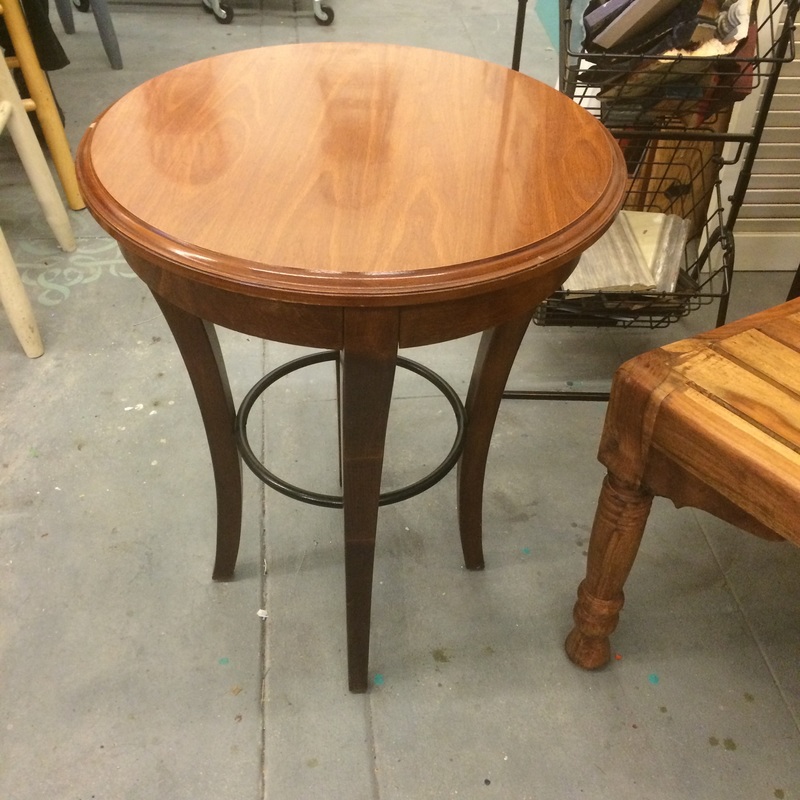
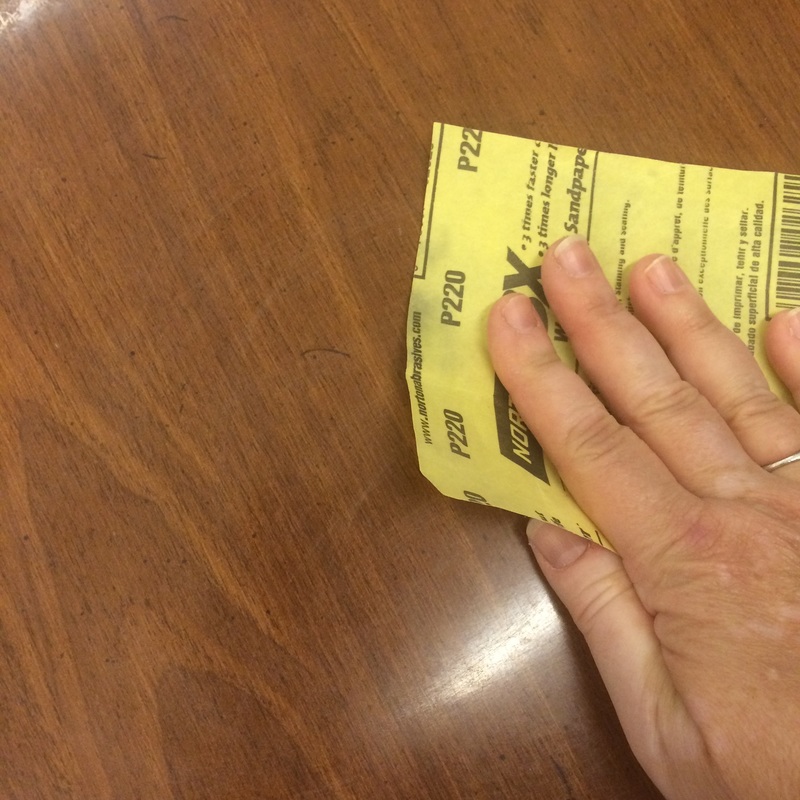
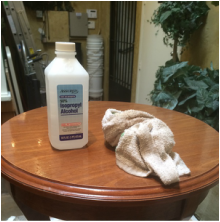
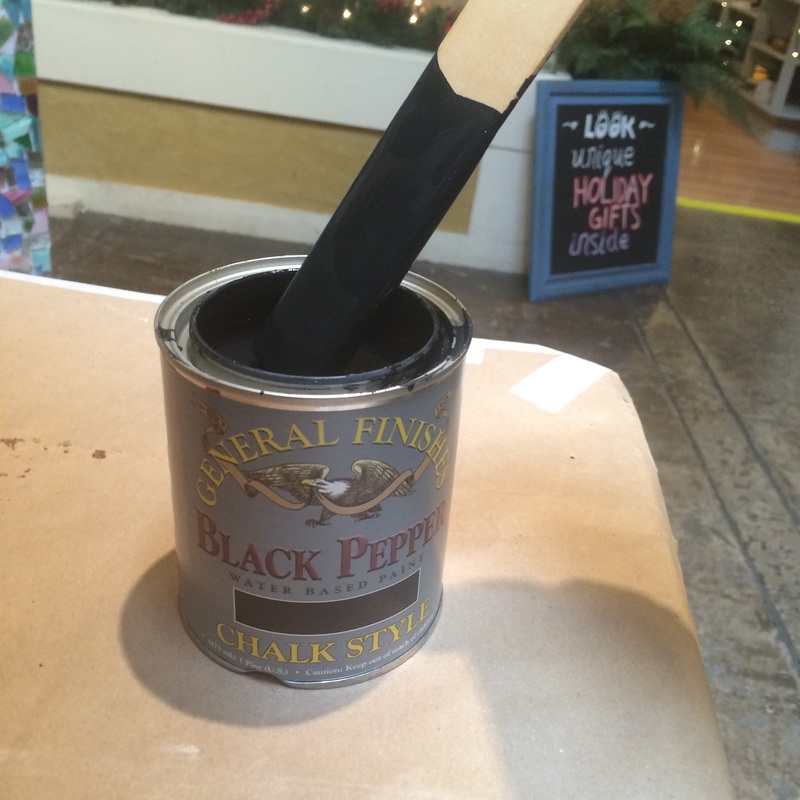
We are very excited to try General Finishes new Chalk Style Paint! The folks at GF were kind enough to send me some samples to try out! A pint of Bone White and Black Pepper arrived the other day and I could not wait to play with them. Last year at this time I was painting a Mackenzie-Childs style dining room table (think black & white checkers) and I really didn't want to relive the checkered theme. So I decided to try a combo of the Black Pepper Chalk Style Paint and Holiday Red Milk Paint. After all, its the holiday season! THE TABLE: I found it at a local consignment store before they sadly went out of business. It looks like something you would find in a hotel room. PREP: Minimal prep is needed with GF paints! Its one of the things I love most about them. I just scuffed the shiny top with a little 220 grit sand paper. Then I wiped the whole piece off with a mix of rubbing alcohol & water. I recommend using a 50/50 denatured alcohol/water mix. But the rubbing alcohol was what I had on hand. Next I wiped the whole thing down with a damp rag and let it dry. Done.
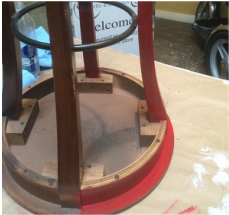
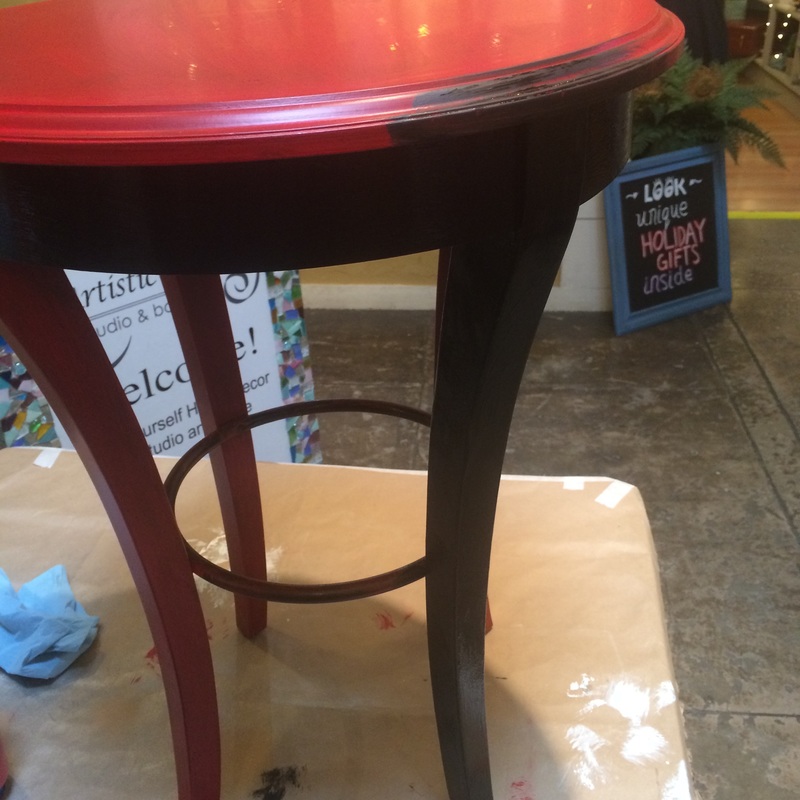
I then painted the whole table with Holiday Red Milk Paint. As I was working, people passing by kept saying they loved the way it looked! I gently told them that it would not stay this way. One red coat covered very nicely!
Once the red was dry, I took the Black Pepper Chalk Style Paint for a test drive. Covered up all that yummy red goodness on the table legs and base. A few observations about this new paint:
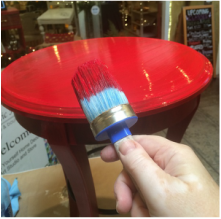
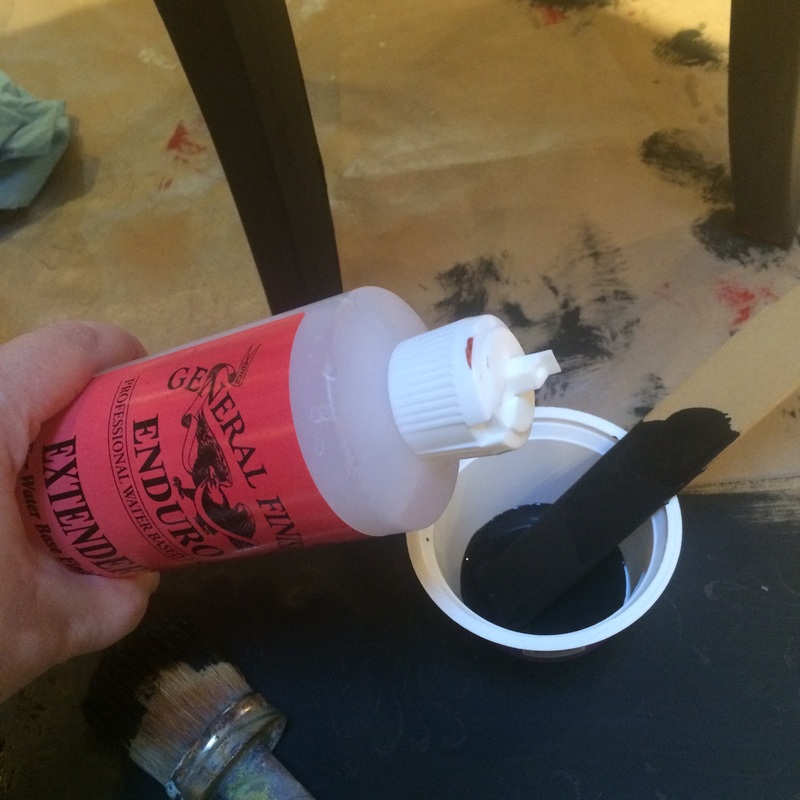
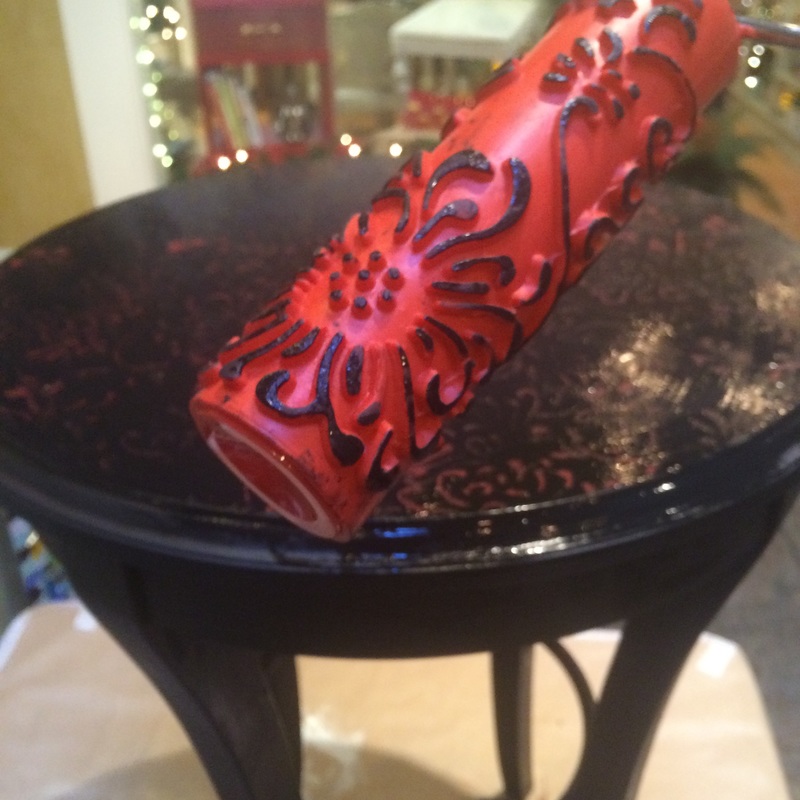
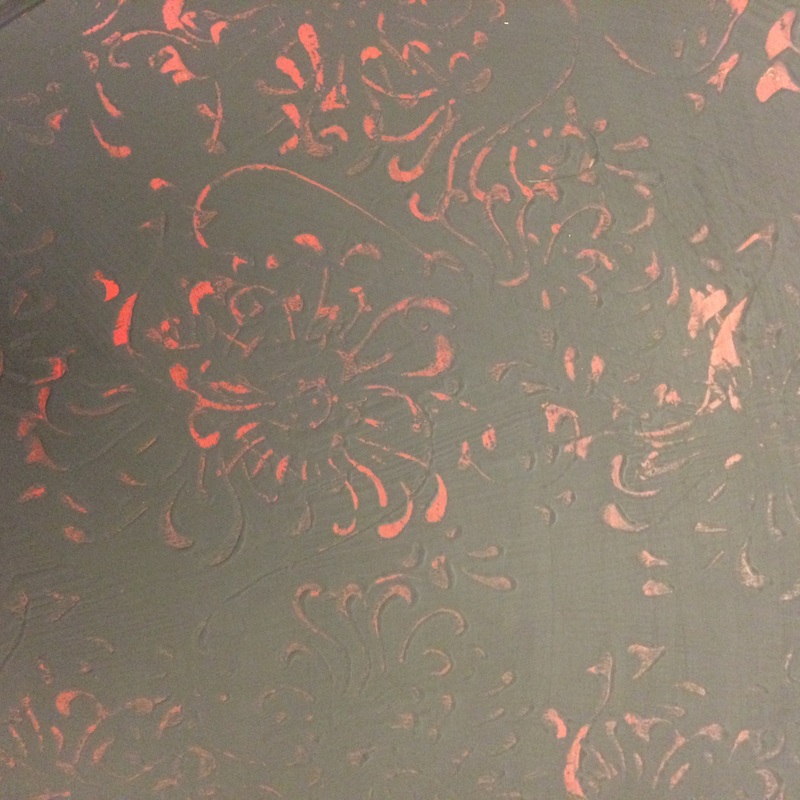
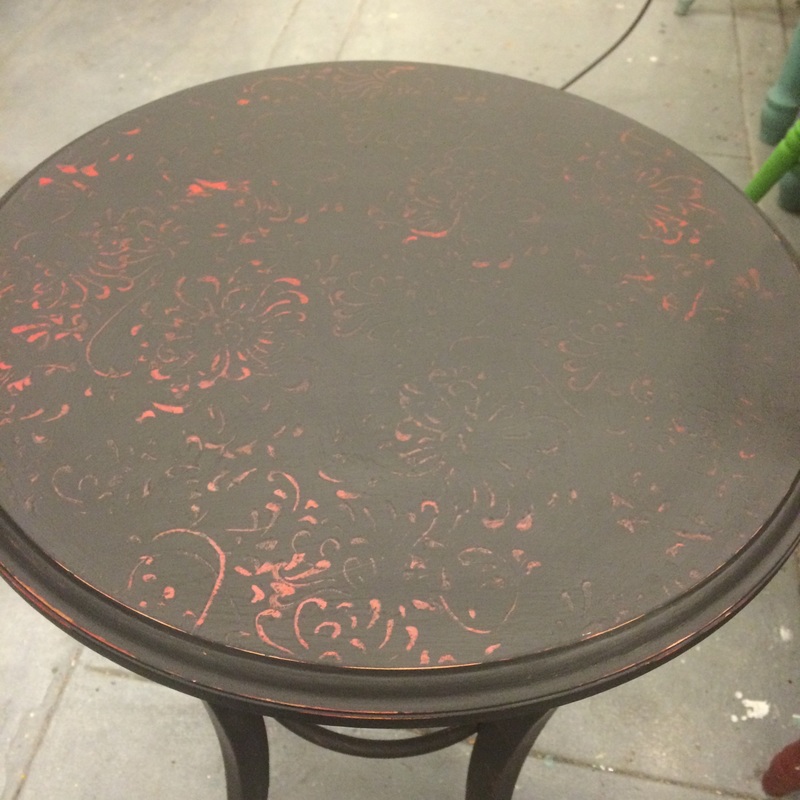
I wanted to do something special to the top of the table. So I brought out one of the new rollers I recently bought from my friend Jennifer at Artistic Painting Studio. (I think these rollers may be my new addiction and will soon require an intervention.) Because the Chalk Style Paint dries quickly, I decided to add a few drops of extender to it for the next step. The extender keeps it "wet" longer and I wanted time to run the roller through it. I put a nice, heavy wet coat of Black Pepper on the table top, then ran the roller through it, carving through the paint to reveal some of the red.
Once dried, it looked pretty cool! The Chalk Style Paint really has a beautiful, matte finish!
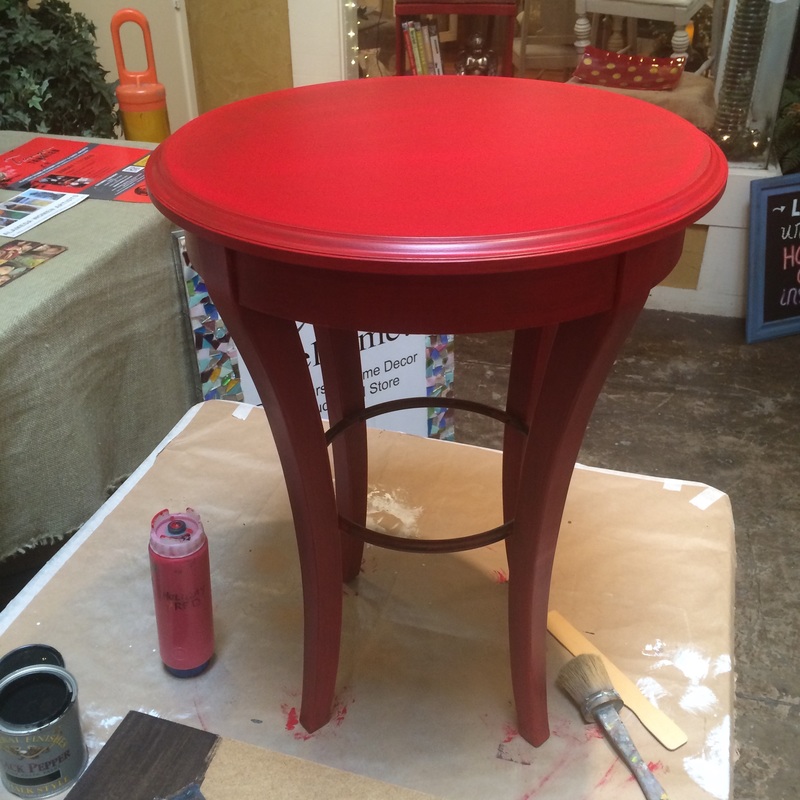
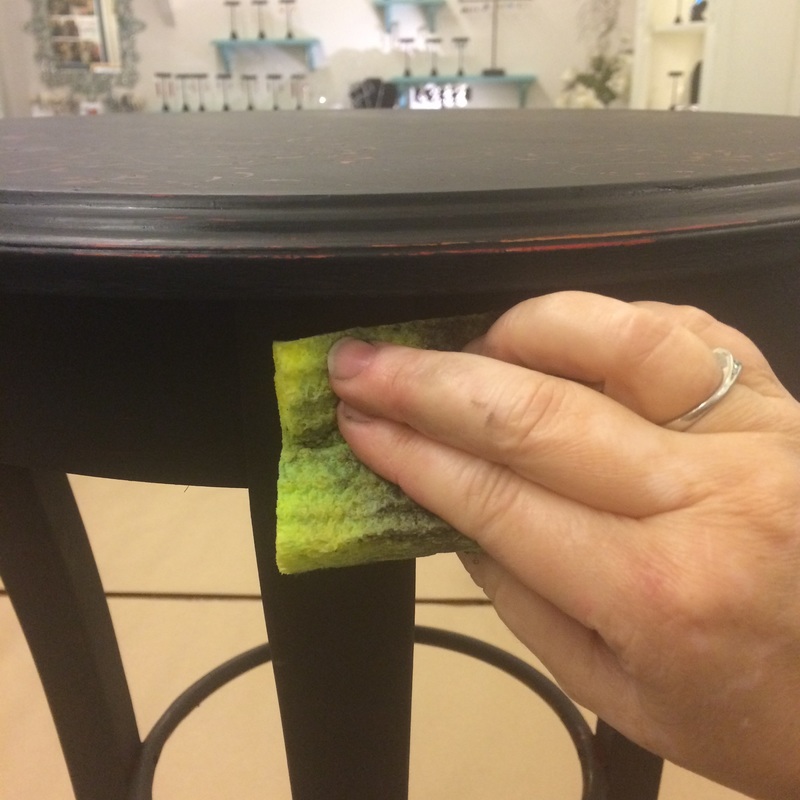
Next, I decided to "wet distress" the Black Pepper Chalk Style Paint to give the table more of a vintage feel. This is a technique that is easy to do with Annie Sloan Chalk Paint and I wanted to see how it compared. I used a damp Scotch-brite sponge - the green side to distress, the yellow side to wipe off the residue.
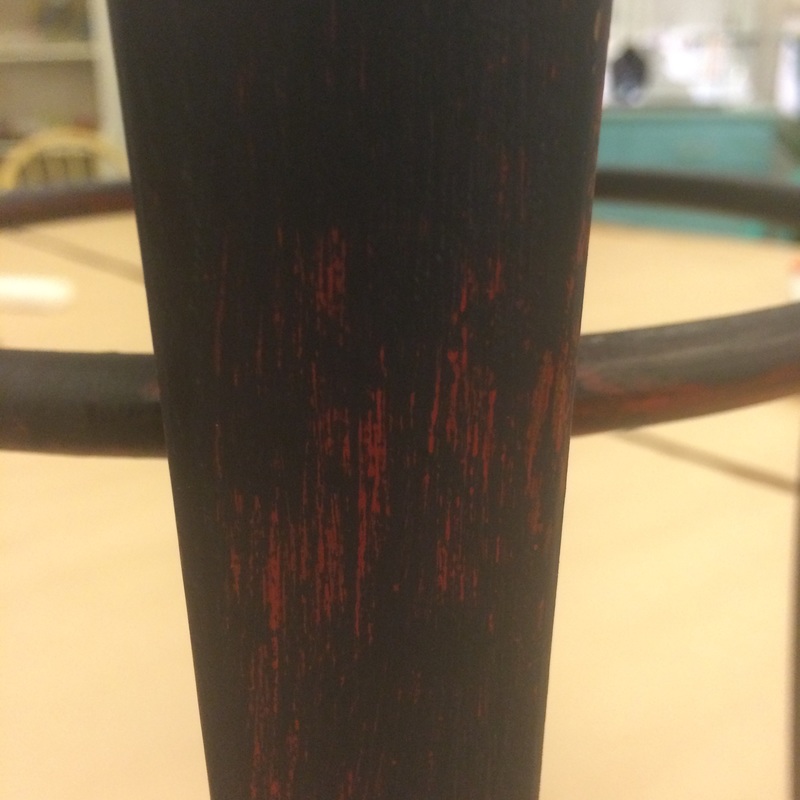
Interestingly, more elbow grease was needed to "wet distress" the Chalk Style Paint than is usually needed to "wet distress" Annie Sloan Chalk Paint. But it still distresses nicely. Also the color doesn't change with burnishing, which is a nice bonus. The Holiday Red Milk Paint underneath remained intact. Stepping back and looking at the table, I decided I wanted the roller pattern to stand out more on the top. So I ran the roller through a bit of Holiday Red, and went back over the top of the table, applying paint this time instead of removing it. Yes, it was just what was needed. That and some flowers from our nice neighbors at Dandelion Flower Shop (thanks, Karim!). 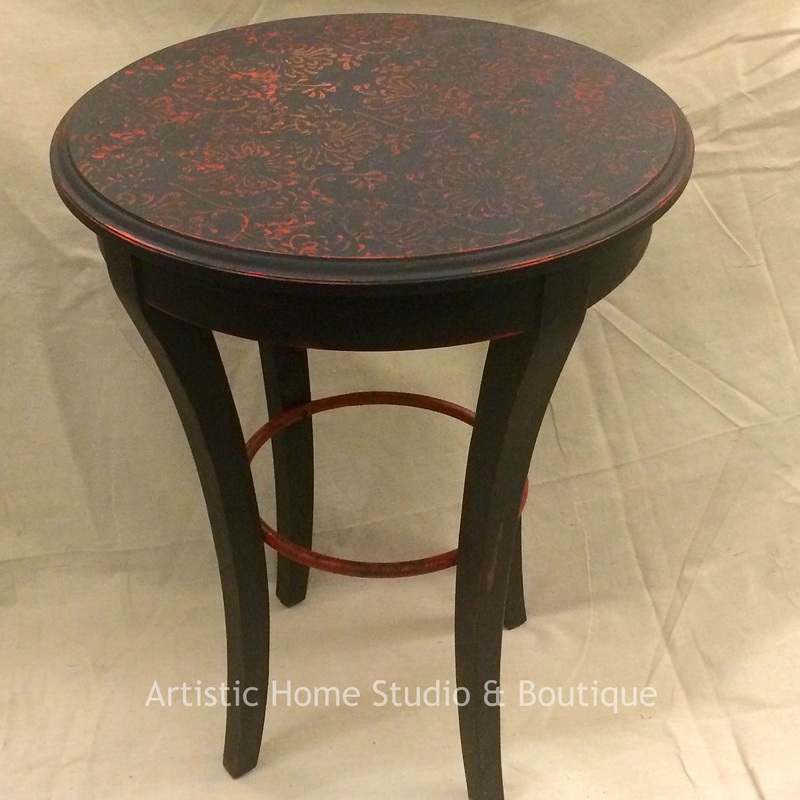 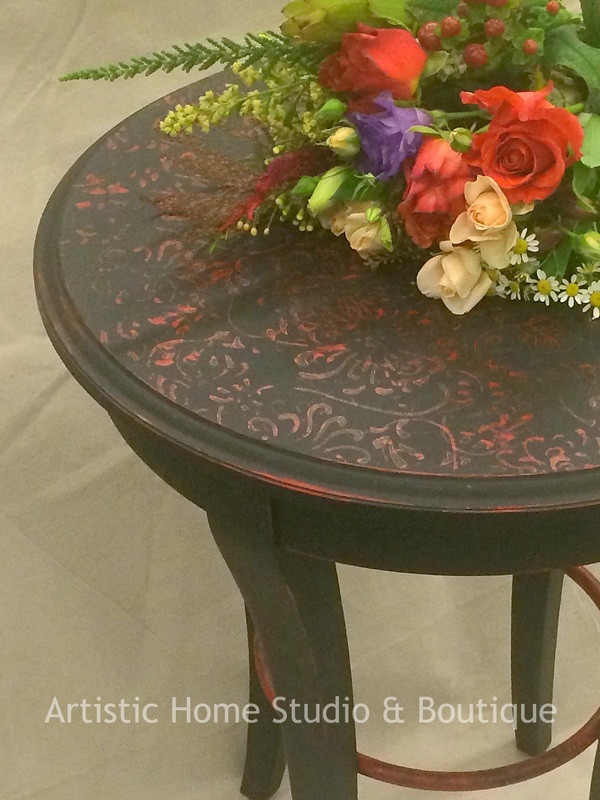
2 Comments
11/30/2015 10:46:41 am
So excited to see your blog post - this is an awesome project!!! Love it :) and many thanks for using one of my rollers!!!
Rachel
11/30/2015 05:50:27 pm
Jennifer - you will see a lot more use of your rollers from me in the future. I'm totally hooked! Thanks for sharing!! Leave a Reply. |
AuthorThis is Rachel's blog about our adventures in bringing The Artistic Home Studio & Boutique to life. Archives
August 2019
|


 RSS Feed