 Found this mirror at an estate sale and liked the texture on the frame, but wanted to change the color. The paper on the back of the mirror disintegrated as soon as I picked it up, and revealed a label with the manufacturer's info on the back: "The Ashby Furniture Company." I did a little research and discovered that the proprietor of this furniture company lived from 1860-1934, and a hand-written number on the back "1912" I'm guessing that's the year it was made! The first thing this mirror needed was a good cleaning! It seems there was 100 years of dirt collected in the frame. Some mineral spirits, a soft scrub brush, some rags and a little patience, and it cleaned up nicely. Next, there was a piece in the corner that had been badly damaged, but nothing a little wood, some wood glue and wood putty couldn't fix. Once it was cleaned and dry, I applied a coat of Annie Sloan Chalk Paint® in Florence. Then I rubbed some Napoleonic Blue into the grooves to bring out the texture. Next, I wiped some of the Napoleonic blue off the high ridges to bring out the Florence color some more. Then I decided it needed some sparkle, and lightly "distressed it" by rubbing some metallic antique gold over a few ridges to add interest. 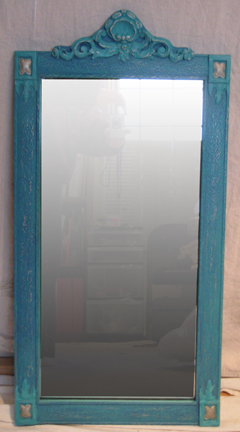 After letting it dry, and waxing and buffing it, here's the final result. A complete transformation! Now all it needs is a new home... 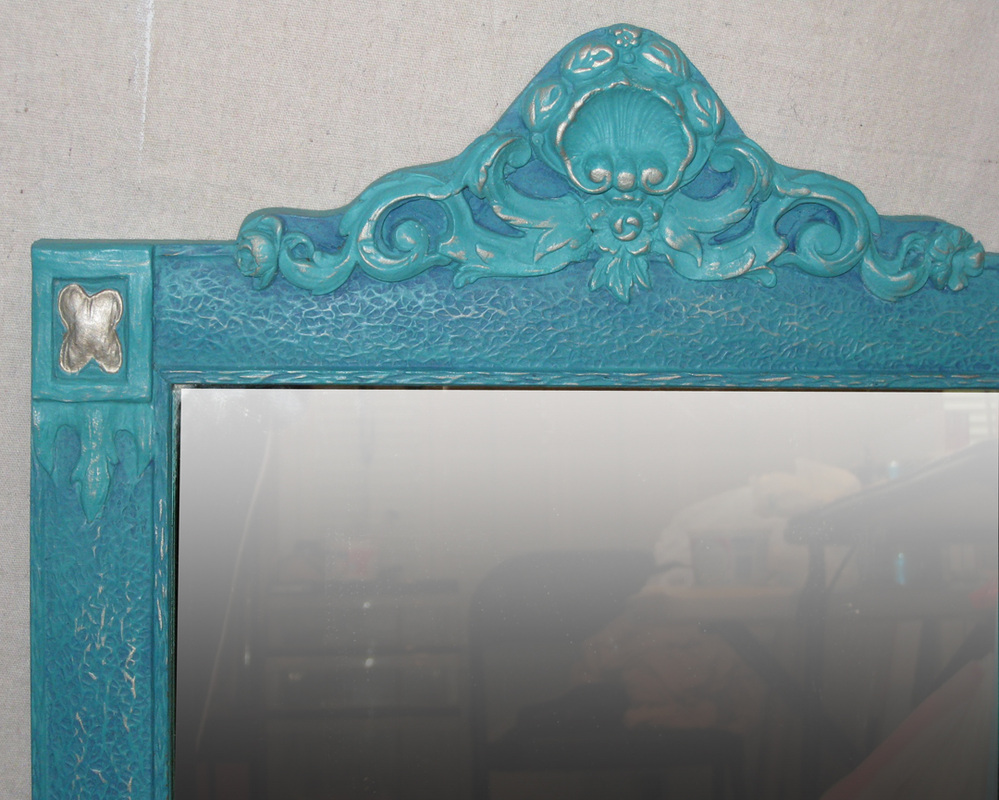
3 Comments
Here's a dresser that I bought from the Salvation Army over 25 years ago. It's sturdy, solid wood, mid-century construction has held up through at least 8 moves and multiple homes, and even though it was dinged up, and still had a few old burn marks on it, it has served me well! 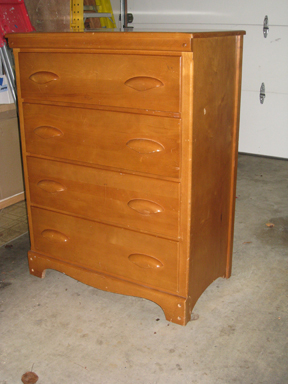 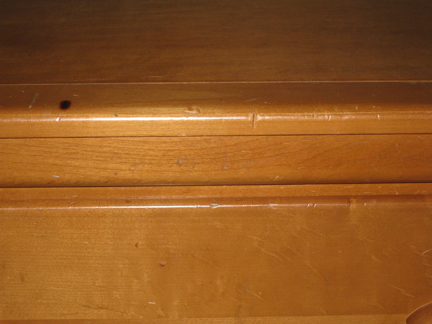 My tween daughter has been hiding this dresser in her closet because "it doesn't go with" her room. So I asked her what it would take to get it out of her closet: "Paint it purple, please!" was her answer. In order to create a deep color purple, I experimented with some Annie Sloan Chalk Paint®, and came up with the following recipe: 4 parts Napoleonic Blue + 2 parts Henrietta + 1 part Emporer's Silk. The color met my daughter's approval. 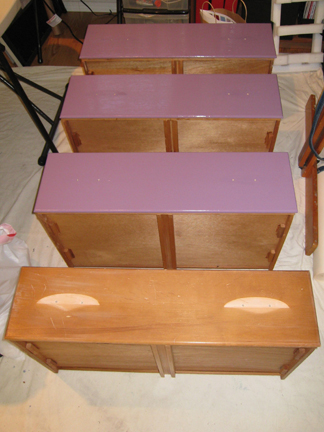 First, I removed the handles on the drawers. Next, I wiped the surfaces down with a TSP/water solution, then wiped it again with a wet sponge. Then, I brushed on 1 coat of my custom Chalk Paint® mixture, and let it dry. The one coat looked so good, I didn't bother with a second. 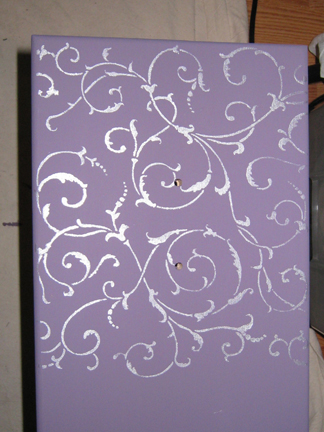 Next, I used a stencil (Lilly Scroll from Cutting Edge Stencils) and some metallic silver acrylic paint (Liquitex) to stencil the drawer fronts. This is a little tricky because the stencil was larger than the drawer widths. I aligned it visually, and masked (with tape) any parts of the design that would looks strange going off the edges. I applied the metallic paint with a stencil brush, stippling with very little paint on the brush. I'd wash and dry the stencil then repeat the process on the next drawer while the first was drying. Because I like to multi-task, I did this during commercial breaks while watching tv. The final step was to paint the drawer handles. I wanted them to be metallic silver (for which there is no chalk paint), so I lightly sanded them, wiped them with a damp cloth, and sprayed them with Rustoleum primer. After it was dry, I sprayed them with Rustoleum metallic silver (one light coat). Here's where I learned an important tip: Don't leave spray paint in a cold garage right before you're going to use it!! We've been having a cold spell, and the silver spray paint was probably 40F before I picked it up and sprayed it on the first two handles. Here's what happened: 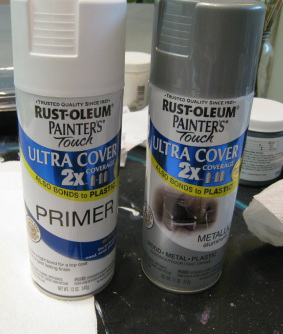  Uh oh! After they dried, I brought the spray paint in the house to warm up for a few hours. Then I sanded these handles and tried again. Second time worked like a charm! After waxing and buffing the dresser and drawers (not the handles), here's the finished result: 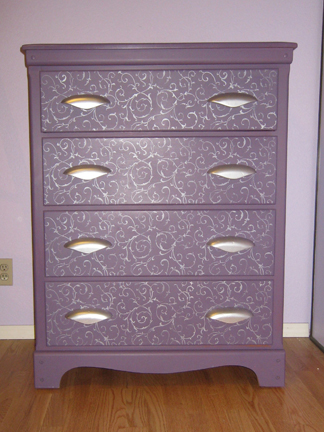 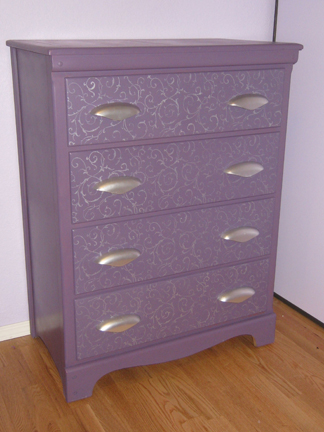 |
AuthorThis is Rachel's blog about our adventures in bringing The Artistic Home Studio & Boutique to life. Archives
August 2019
|
 RSS Feed