|
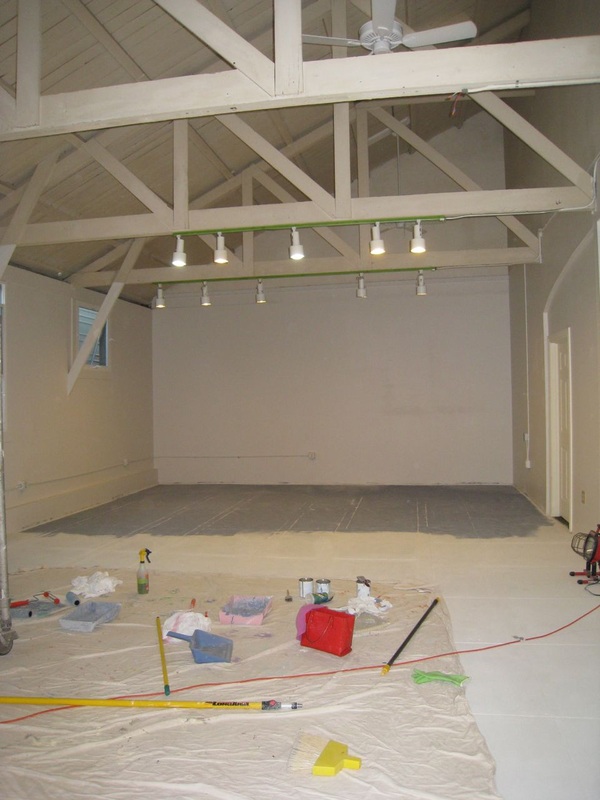
AT LAST, the 800+ sqft studio floor is painted! We used 5 quarts of Chalk Paint® (a mix of Old Violet and Paris Grey, with a tiny bit of Provence and Old White for the stencils), 3 quarts of lacquer (for those of you who are counting), and one very pretty stencil from Royal Design Studio to complete the task. The look is comfortable, soft and muted, like a worn denim fabric, with a little bit of turquoise fun. See that big scaffold (below)? We dragged it across the floor 20 minutes after it was painted - with out any damage to the paint or the floor. This stuff is amazing! The lacquer went on easily and dried quickly as well. 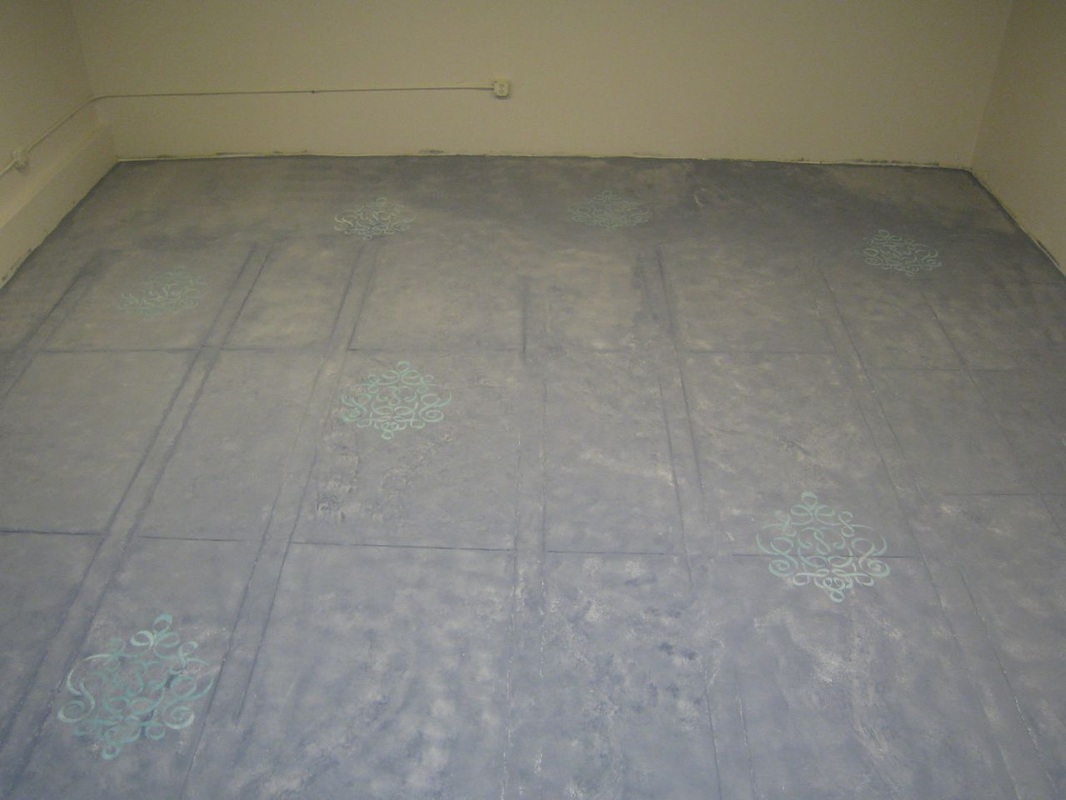
2 Comments
We've been busy busy busy getting ready for our store opening on May 11th! Once the floor was sanded and cleaned, we let it dry and sealed it with waterproof concrete sealer. Originally we were going to paint it with a concrete epoxy paint, but while reading the instructions on the epoxy paint, discovered that we could not use epoxy over the concrete sealer. Good thing we read the instructions!
After some debating, and a few unsuccessful phone calls to paint stores, we thought why not paint the floor with Chalk Paint®?! Yes, Chalk Paint® can be used on floors and coated with a laquer that is especially designed to be used over it. So we gave it a try...
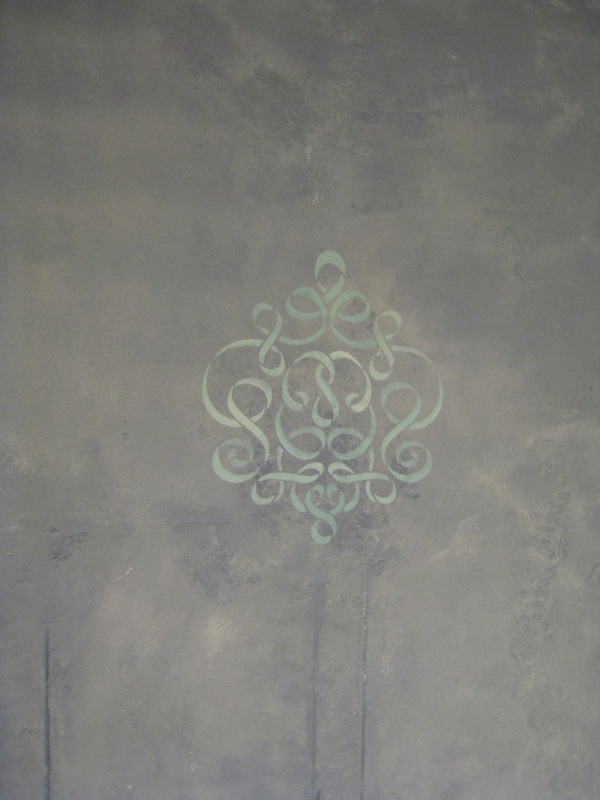
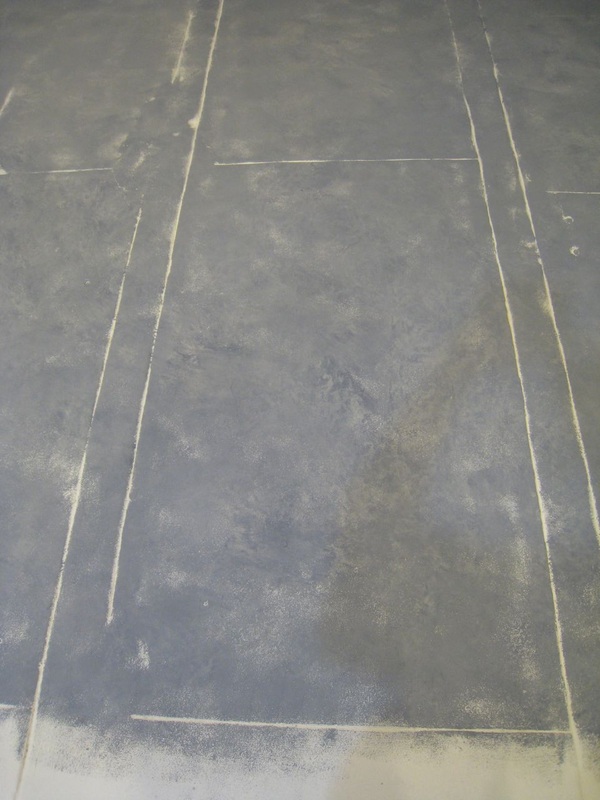
So far its a work in progress! We're blending two colors (Old Violet and Paris Grey) to get a sued/textured look. The white cracks will get painted next. Two quarts covered about 300 sq ft nicely! Stay tuned to see the finished results...
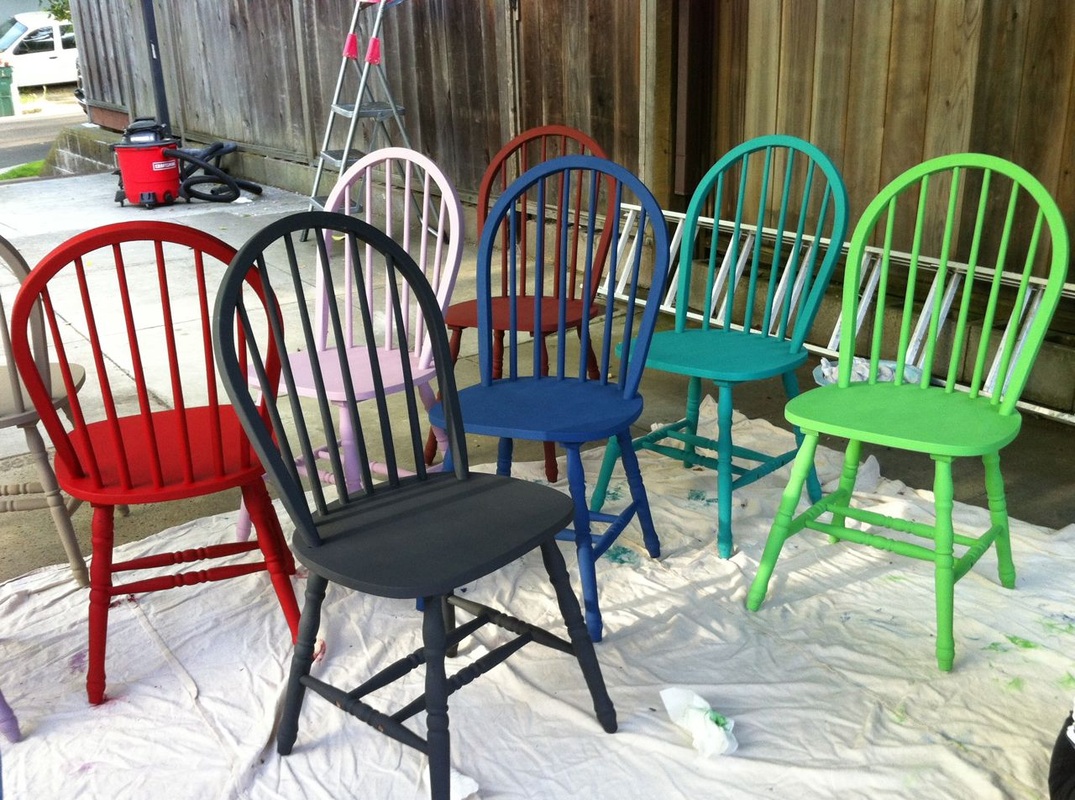
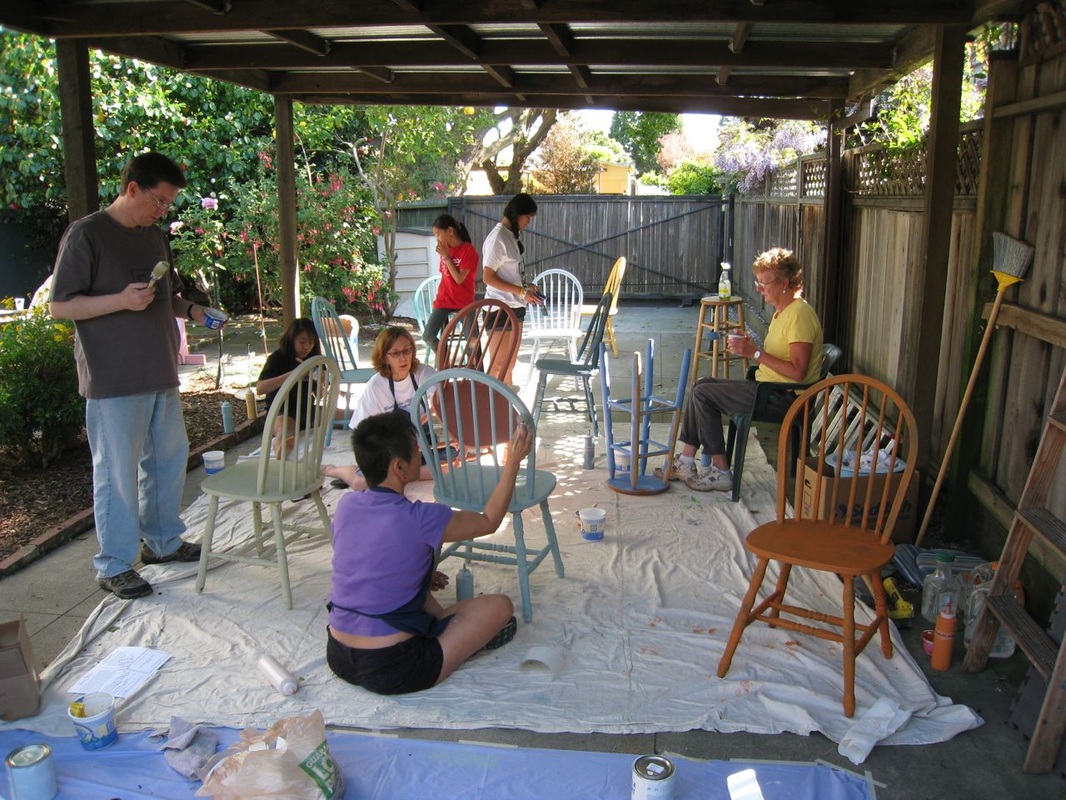
Oh, and we've been busy painting chairs for the studio! Each chair is being painted in a different color of Chalk Paint® - check out these gorgeous colors! And the painting party was a lot of fun too!
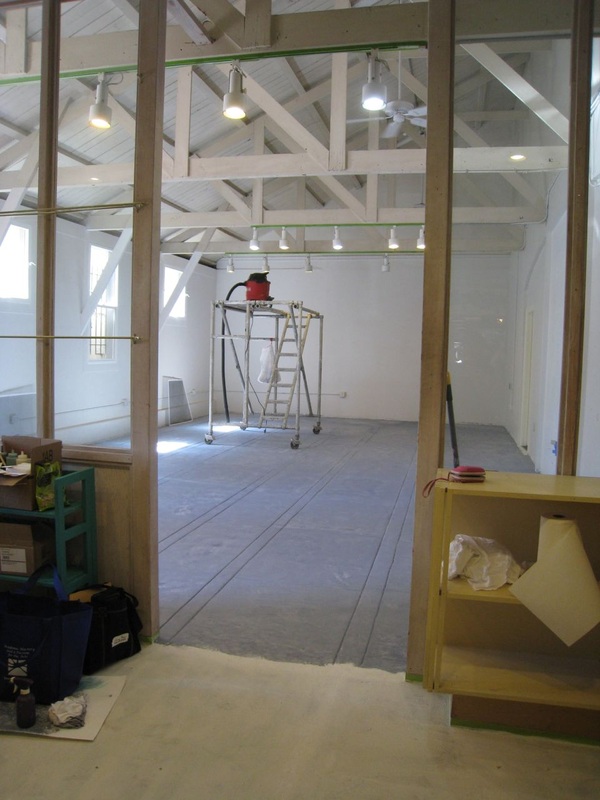
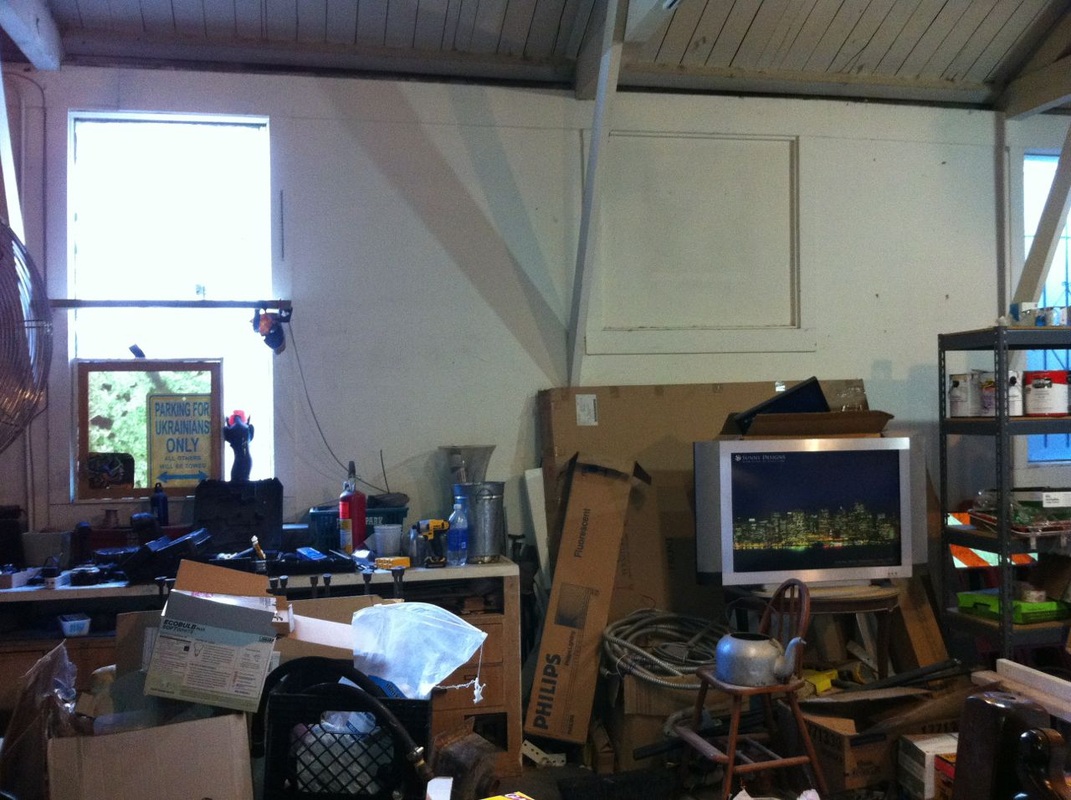
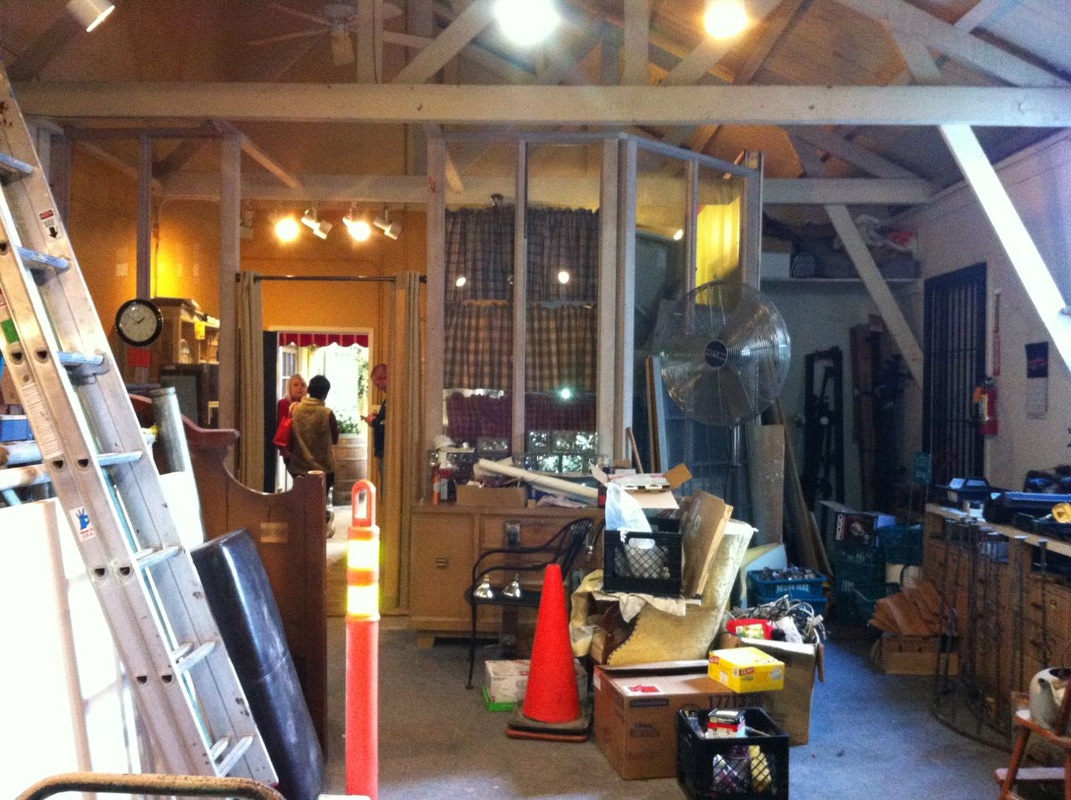
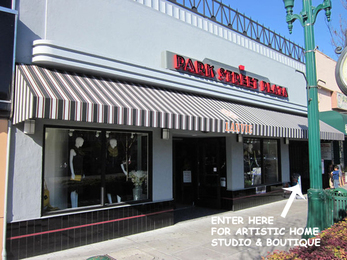 It has been an exciting week! It started out on Monday when the lease was signed and we obtained keys to the new store and studio! We are very excited to be residing inside the former "Pillow Park Plaza" now called Park Street Plaza, in the heart of downtown Alameda, CA! Right now we are targeting the weekend of May 11th for our opening - just in time for Mother's day and the Park Street Spring Festival. Stay tuned for more details... Here are some "before" pictures of the space, when it was being used for storage:
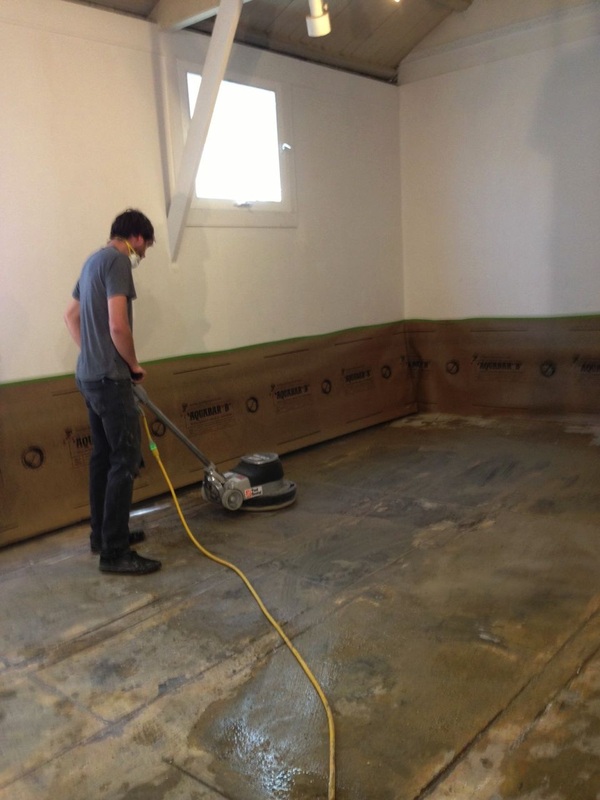
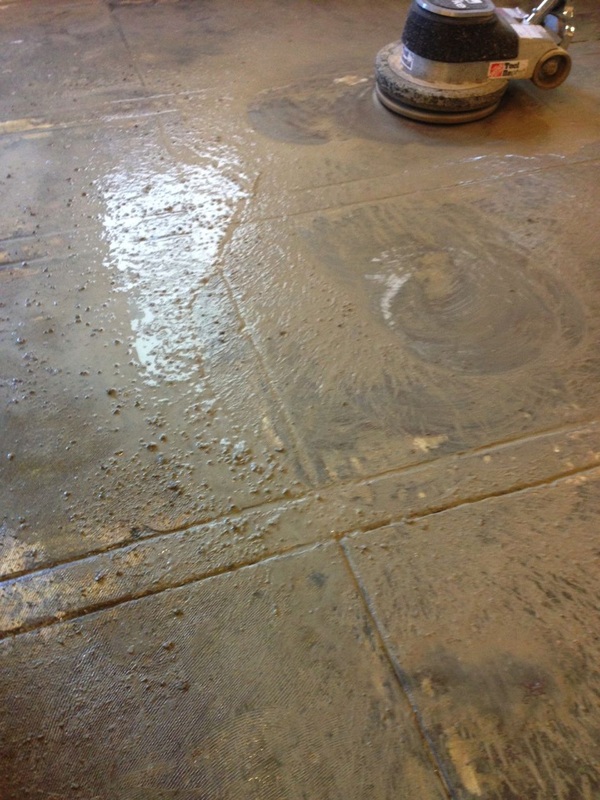
Clearly, we used our imaginations to envision all its potential! Once the landlords cleared all the stuff out, we discovered underneath the heavily stained, 20-year old carpet that covered the entire floor, was 20-year-old mastic carpet glue, solidified on very old concrete! Our biggest challenge: what to do with the floor! After much debate, pricing and research, we decided to grind the glue off with an industrial sander (thanks, Home Depot!), then seal and paint the floor. In the process of grinding the floor, we created a mess of SLUDGE that needed to be cleaned off. Here's the floor during this process:
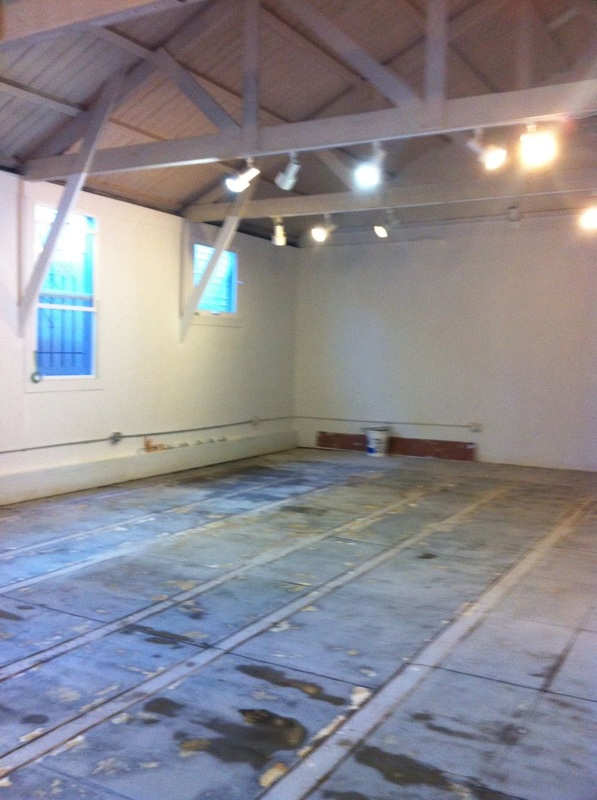
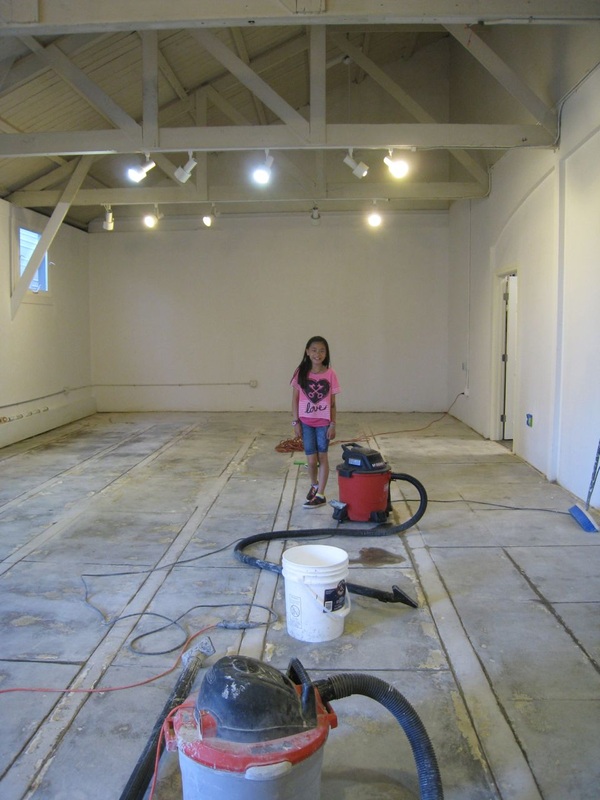
Imagine the fun of getting this cleaned up! 2 wet-dry vacuums, a couple of buckets, 3 adults, 2 kids, scrub brushes and mops later, here's the floor after 3 days:
Although it looks ugly, it's actually quite clean! Now we have to let it dry out for a week before sealing it. In the meantime, there are plenty of other exciting things to do!
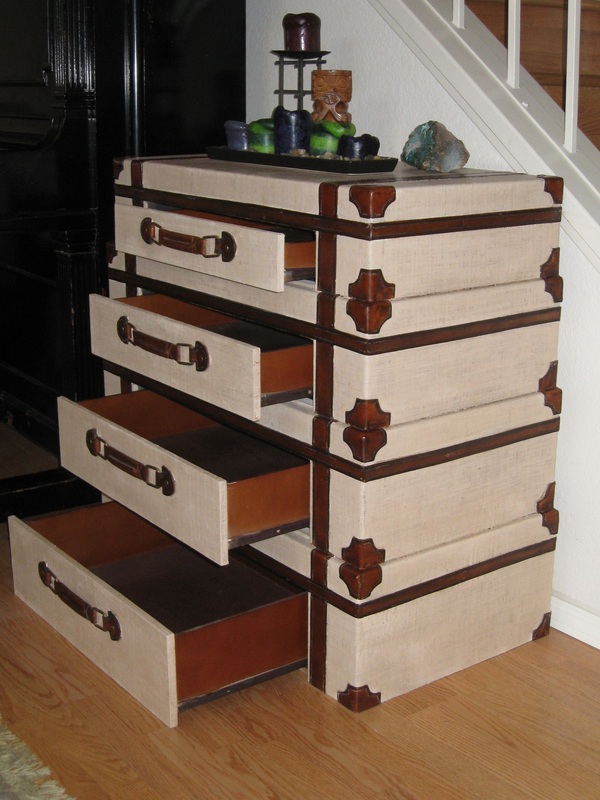
 Here's my favorite Craigslist find to date! This dresser / end table / night stand / hall table (whatever you want it to be, really) is something I picked up off craigslist from someone who was moving. The straps and handles are real, high-quality leather, and the piece is covered in a burlap-like (shellacked burlap maybe?) finish. It was a little beat up and dirty, but the drawers (yes those are drawers!) were in beautiful condition. So nice, my family screamed in protest when I threatened to paint the insides. So I left the drawers alone. I wanted the piece to have a slightly cleaner, more elegant look. Like suitcases from the QE2, not a Carnival Cruise. After debating extensively over what color to paint it, I decided on Chalk Paint® in Old Ochre and mixed in a teeny tiny bit of Burnt Sienna (acrylic paint) to warm it up a little bit. I really wanted to show off the leather straps and handles since they were in such fine shape, and this color combination would make them "pop." Painting this was not easy! I didn't mask all the leather, instead chose to paint around it very carefully, and wipe off any paint that might get on it. This actually worked well, but was a little tricky, and destroyed a few finger nails. Also, the textured surface was hungry for paint and took 1.5 good coats to cover. After letting the paint dry, I mixed up some Annie Sloan Clear Wax with a little bit of dark wax (about 5:1), and waxed and buffed all the painted areas. A little wax on the leather didn't hurt it at all, and actually helped clean it up nicely. The results? Stunning! 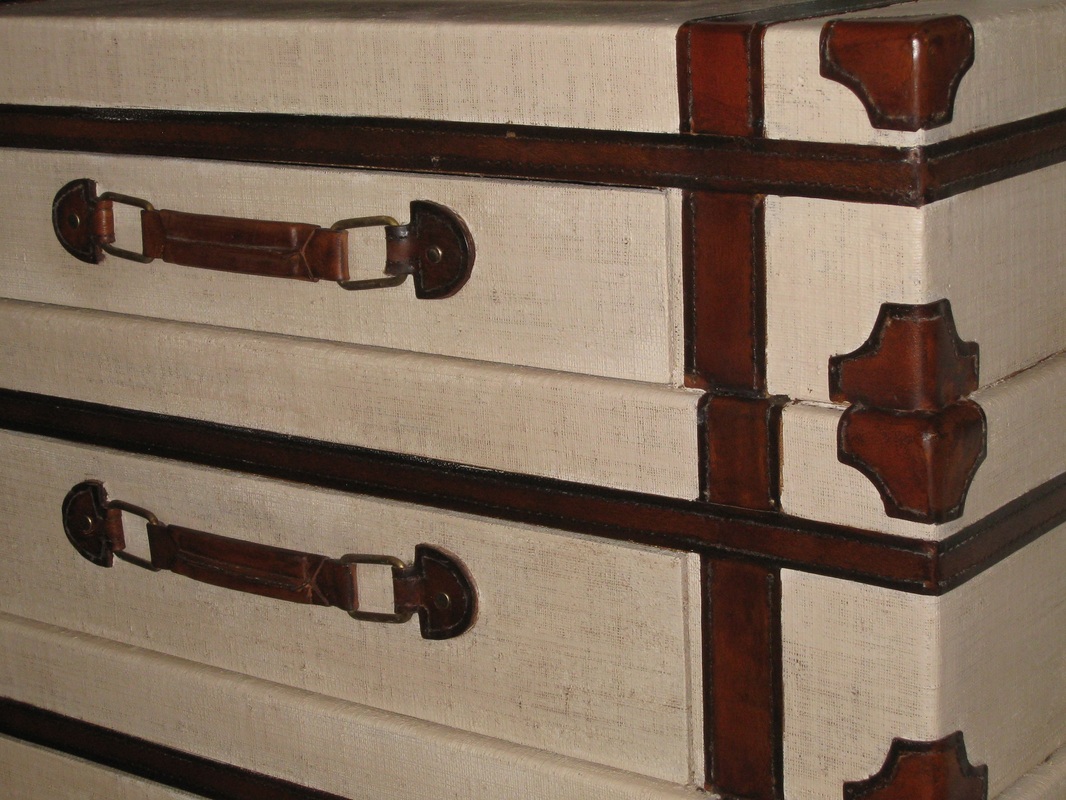
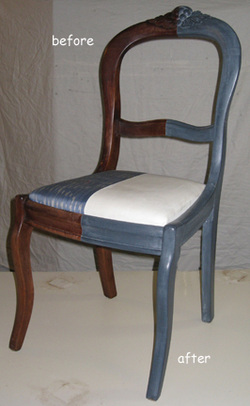 Here's an old chair I picked up at the Oakland Museum White Elephant Sale. I decided to use it as a "demo" chair, to show what can be done with Annie Sloan Chalk Paint®, so only painted half. Some of you might think this is a cool new style - if so, I can help! Do you want to change the color of your chair cushions, but don't want to re-upholster them? Guess what - you can paint them with Annie Sloan Chalk Paint®! Seriously! I took the chair cushion off this chair, taped it in half, painted the fabric (2 coats of Old White) and applied clear wax and buffed it. Viola - it feels like pleather, and looks fantastic! And it took less than 10 minutes to do. E.Z. The wooden part of the chair was quick and easy too. I just brushed on 1.5 coats of Graphite, let it dry, then just for fun waxed it with a tiny bit of Old White mixed into the clear wax. Wiped off the excess and buffed it, and gave the chair a whole new look! 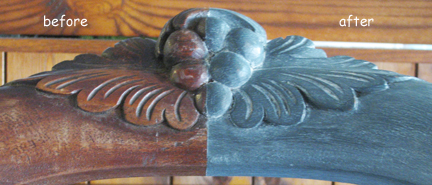 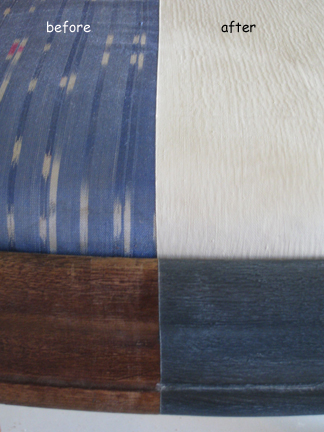  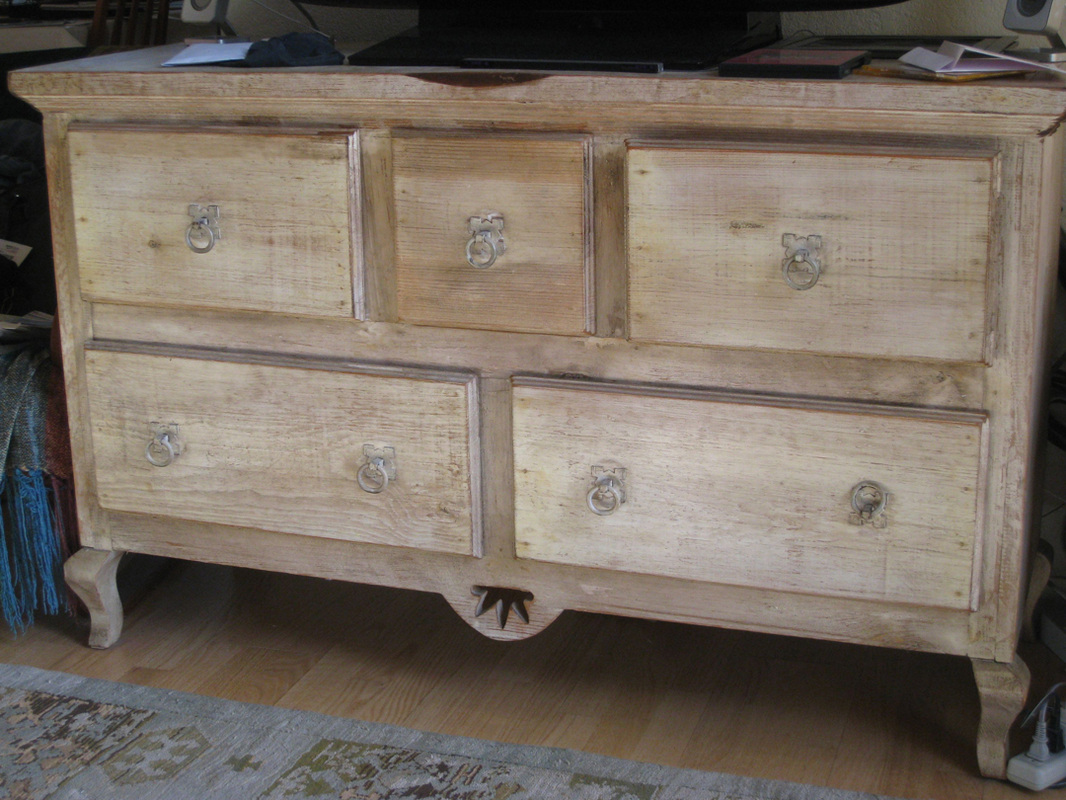 I've been looking for a new coffee table for my living room. Something that matches the console that our tv sits on (pictured here). This "console" is actually a dresser that my husband and I purchased when we were dinks* (*dual income no kids), along with a matching armoire. Both pieces are solid wood, with that shabby-chic-mexican-distressed look, only a little bit nicer. At least we like to think so, since we paid a pretty price for them. It just so happens my neighbor was getting rid of her old coffee table, which was the perfect size and shape, but the wrong finish! So I thought I'd take it and try to match the finish to my existing furniture. 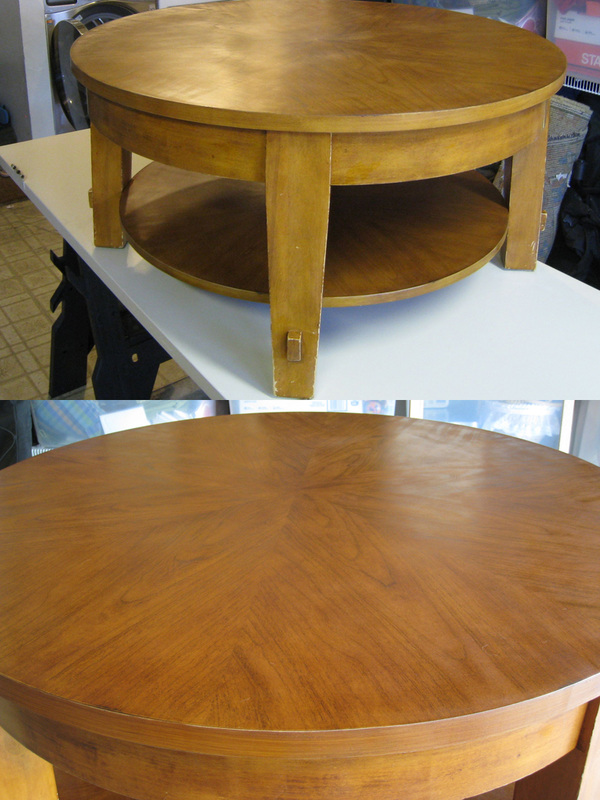 Here's the coffee table before. I decided to apply some Annie Sloan Chalk Paint® in Old Ochre, with a lot of brush strokes showing. It only took 2 ounces of paint to cover the whole table - no kidding! After I let it dry, I took equal parts of Annie Sloan clear wax and dark wax, and randomly dipped my brush in little bits of each before rubbing it on the table, so it would look uneven (like my furniture). Kept doing this, rubbing off the excess with a paper towel, and buffing the table with a clean cloth. The color matched my furniture perfectly! 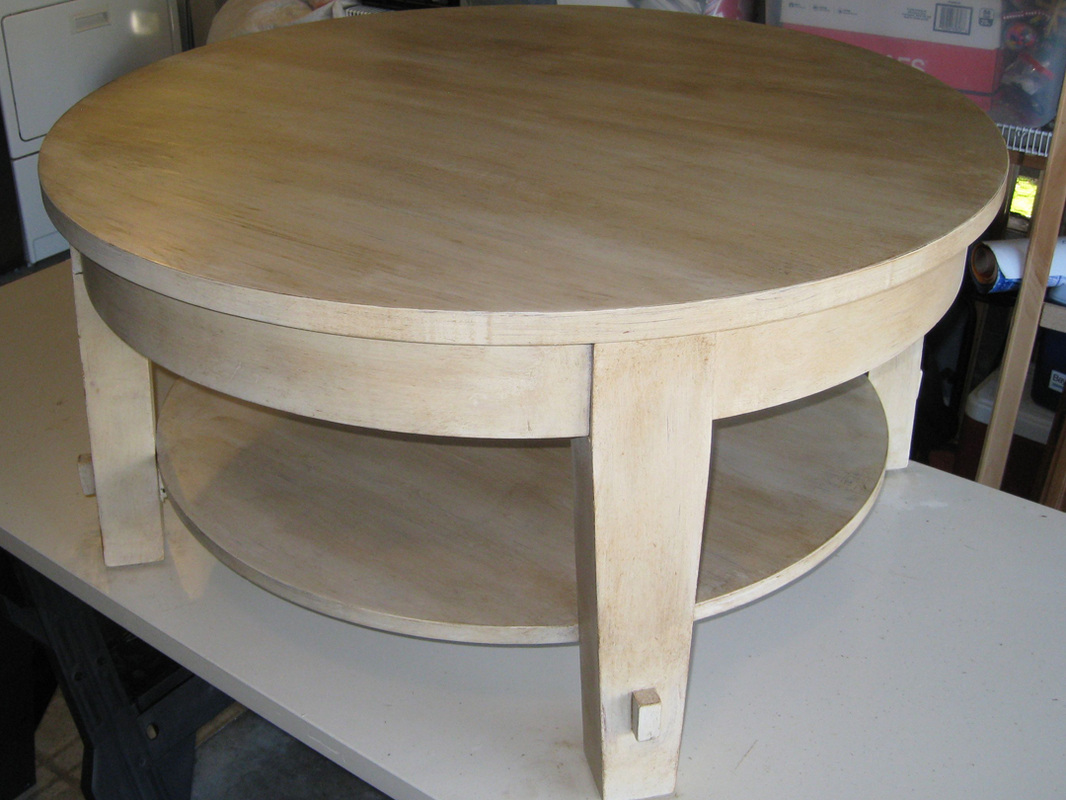 Between cleaning off the table, painting and waxing it, I spent about an hour and a half on this project. Not bad at all! 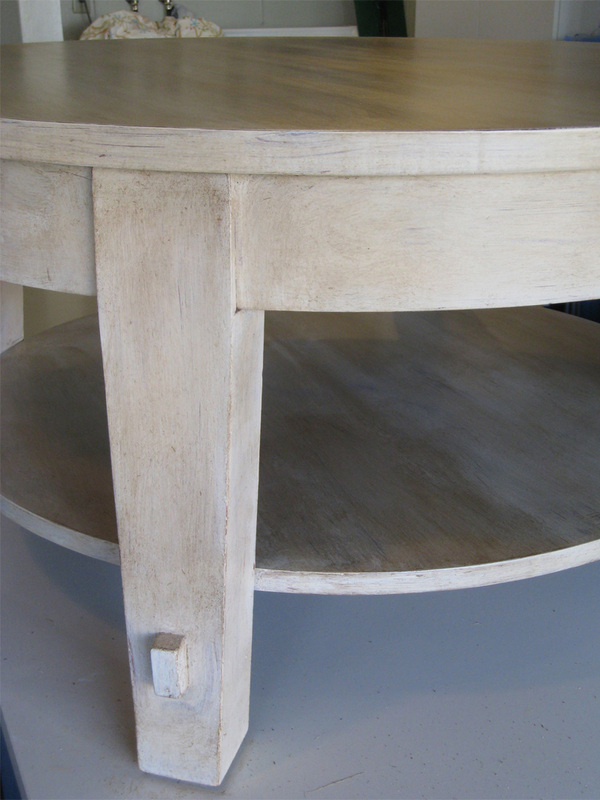  Found this mirror at an estate sale and liked the texture on the frame, but wanted to change the color. The paper on the back of the mirror disintegrated as soon as I picked it up, and revealed a label with the manufacturer's info on the back: "The Ashby Furniture Company." I did a little research and discovered that the proprietor of this furniture company lived from 1860-1934, and a hand-written number on the back "1912" I'm guessing that's the year it was made! The first thing this mirror needed was a good cleaning! It seems there was 100 years of dirt collected in the frame. Some mineral spirits, a soft scrub brush, some rags and a little patience, and it cleaned up nicely. Next, there was a piece in the corner that had been badly damaged, but nothing a little wood, some wood glue and wood putty couldn't fix. Once it was cleaned and dry, I applied a coat of Annie Sloan Chalk Paint® in Florence. Then I rubbed some Napoleonic Blue into the grooves to bring out the texture. Next, I wiped some of the Napoleonic blue off the high ridges to bring out the Florence color some more. Then I decided it needed some sparkle, and lightly "distressed it" by rubbing some metallic antique gold over a few ridges to add interest. 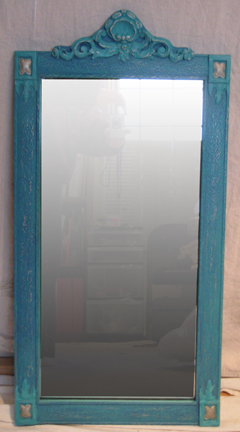 After letting it dry, and waxing and buffing it, here's the final result. A complete transformation! Now all it needs is a new home... 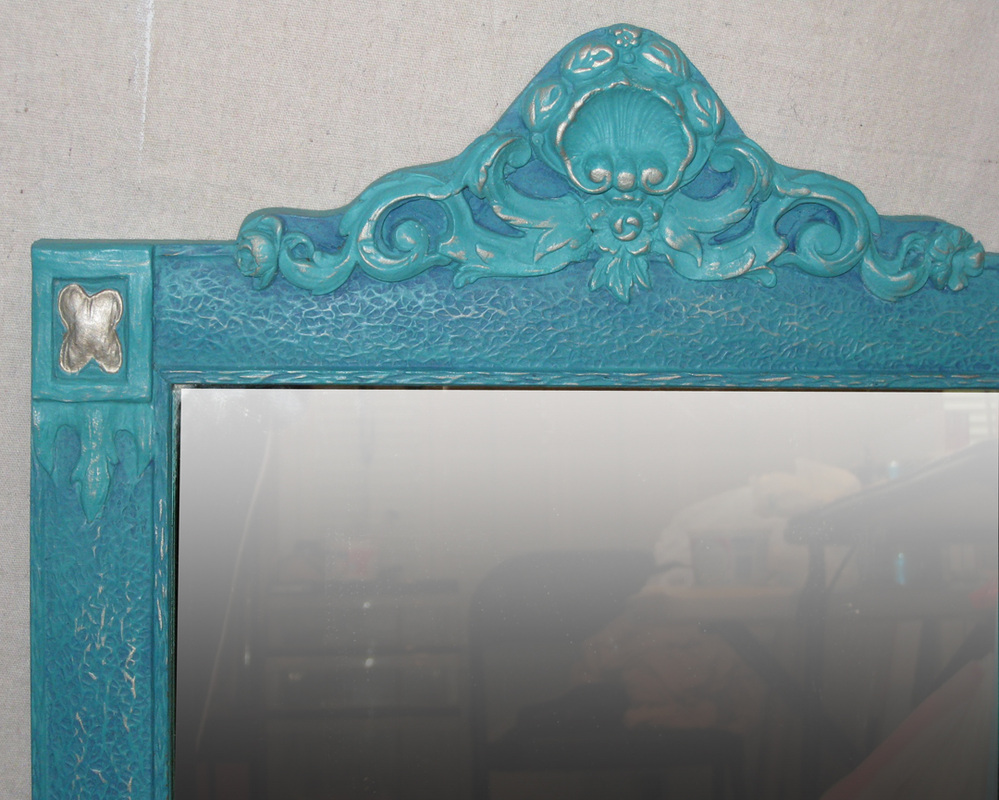 Here's a dresser that I bought from the Salvation Army over 25 years ago. It's sturdy, solid wood, mid-century construction has held up through at least 8 moves and multiple homes, and even though it was dinged up, and still had a few old burn marks on it, it has served me well! 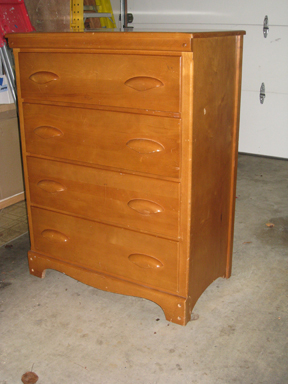 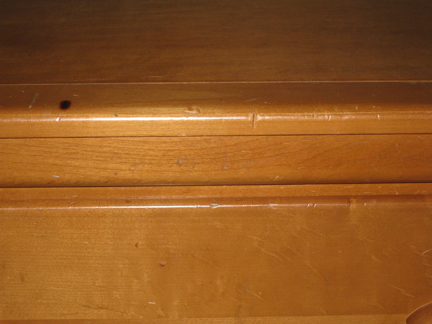 My tween daughter has been hiding this dresser in her closet because "it doesn't go with" her room. So I asked her what it would take to get it out of her closet: "Paint it purple, please!" was her answer. In order to create a deep color purple, I experimented with some Annie Sloan Chalk Paint®, and came up with the following recipe: 4 parts Napoleonic Blue + 2 parts Henrietta + 1 part Emporer's Silk. The color met my daughter's approval. 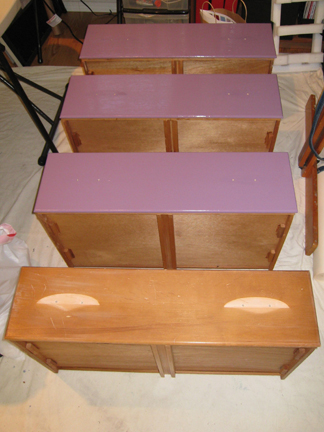 First, I removed the handles on the drawers. Next, I wiped the surfaces down with a TSP/water solution, then wiped it again with a wet sponge. Then, I brushed on 1 coat of my custom Chalk Paint® mixture, and let it dry. The one coat looked so good, I didn't bother with a second. 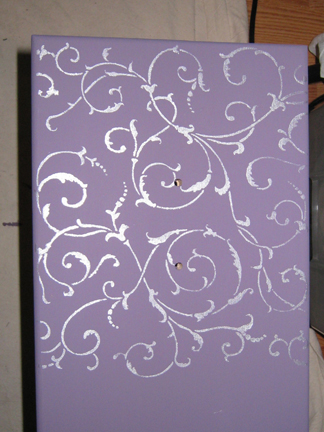 Next, I used a stencil (Lilly Scroll from Cutting Edge Stencils) and some metallic silver acrylic paint (Liquitex) to stencil the drawer fronts. This is a little tricky because the stencil was larger than the drawer widths. I aligned it visually, and masked (with tape) any parts of the design that would looks strange going off the edges. I applied the metallic paint with a stencil brush, stippling with very little paint on the brush. I'd wash and dry the stencil then repeat the process on the next drawer while the first was drying. Because I like to multi-task, I did this during commercial breaks while watching tv. The final step was to paint the drawer handles. I wanted them to be metallic silver (for which there is no chalk paint), so I lightly sanded them, wiped them with a damp cloth, and sprayed them with Rustoleum primer. After it was dry, I sprayed them with Rustoleum metallic silver (one light coat). Here's where I learned an important tip: Don't leave spray paint in a cold garage right before you're going to use it!! We've been having a cold spell, and the silver spray paint was probably 40F before I picked it up and sprayed it on the first two handles. Here's what happened: 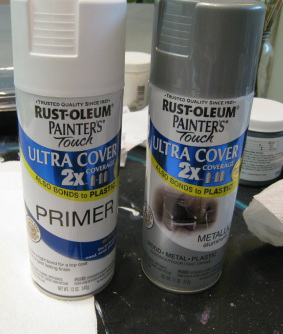  Uh oh! After they dried, I brought the spray paint in the house to warm up for a few hours. Then I sanded these handles and tried again. Second time worked like a charm! After waxing and buffing the dresser and drawers (not the handles), here's the finished result: 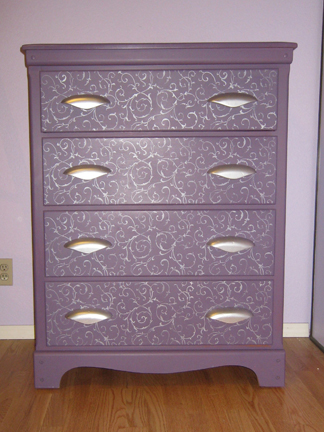 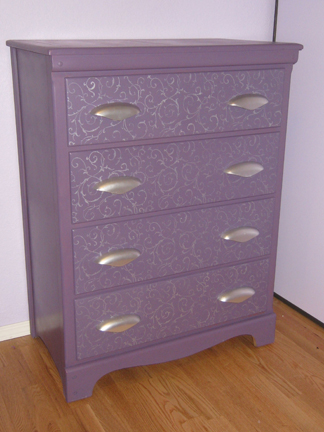 |
AuthorThis is Rachel's blog about our adventures in bringing The Artistic Home Studio & Boutique to life. Archives
August 2019
|


 RSS Feed